
Forgatásos fényképezés
Automated rotating photography
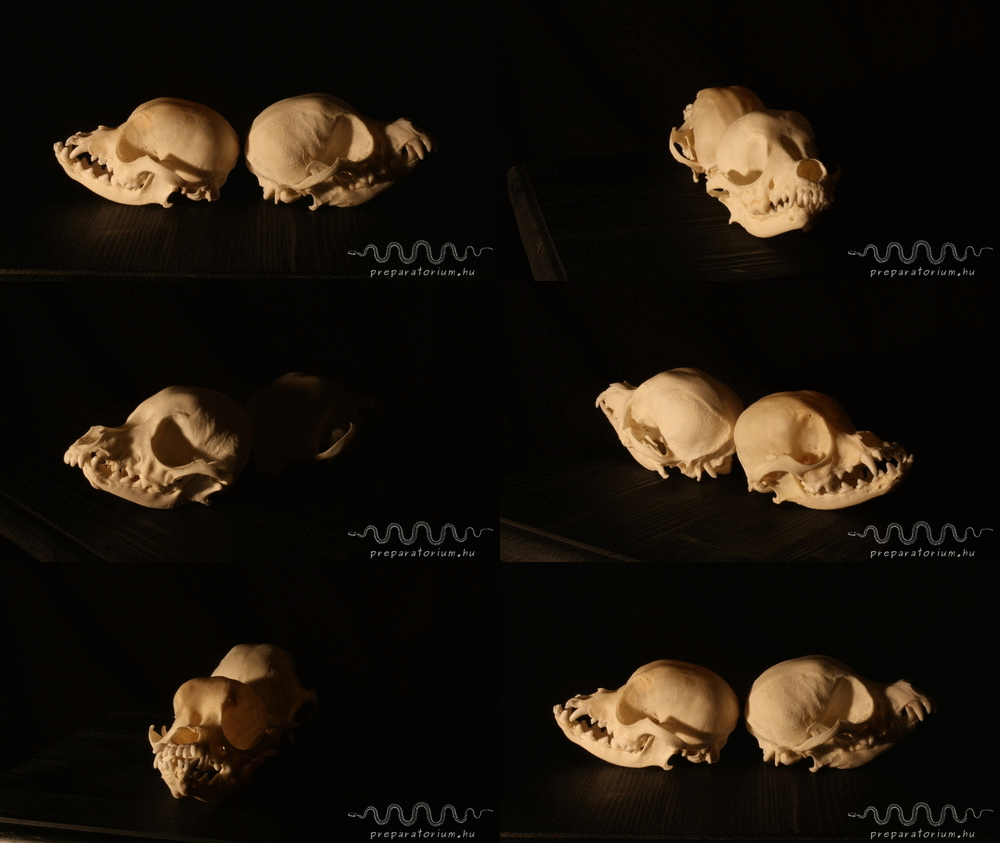
Cél:
Egy olyan automata eszköz készítése, aminek a segítségével egy tárgyat körbe tudok fényképezni. Az elkészült képekből gif animáció vagy rövid videó készítése.
Objective:
My purpose was to make an automatic device which helps to take photos of a rotating object. By using these photos I planned to create gif animations or short videos.
Szükséges eszközök:
- Raspberry Pi
- Fényképezőgép, hozzá adatkábel
- Fényképezőgép állvány
- Léptető motor (28BYJ48)
- Léptető motor vezérlő (ULN2003AN)
- 6 db anya-anya jumper kábel
- Csavarok, anyák, alátétek
- 1 db golyóscsapágy
- Rétegelt lemez, fa tábla
Ennél a projektnél tengelynek 1/4 colos csavart használtam. Ezen a fényképezőgépet közvetlenül tudtom rögzíteni, így a fényképezőgép forgatására is lehetőség nyílik.
Used materials:
- Raspberry Pi
- Camera with usb cable
- Camera tripod
- Stepper motor (28BYJ48)
- Stepper motor controller (ULN2003AN)
- 6 female-female jumper cable
- Scerws, nuts, washers
- A bearing
- Plywood, wood board
1/4" screw was used for the spinle, making it possible to fix the camera directly to the rotating device.
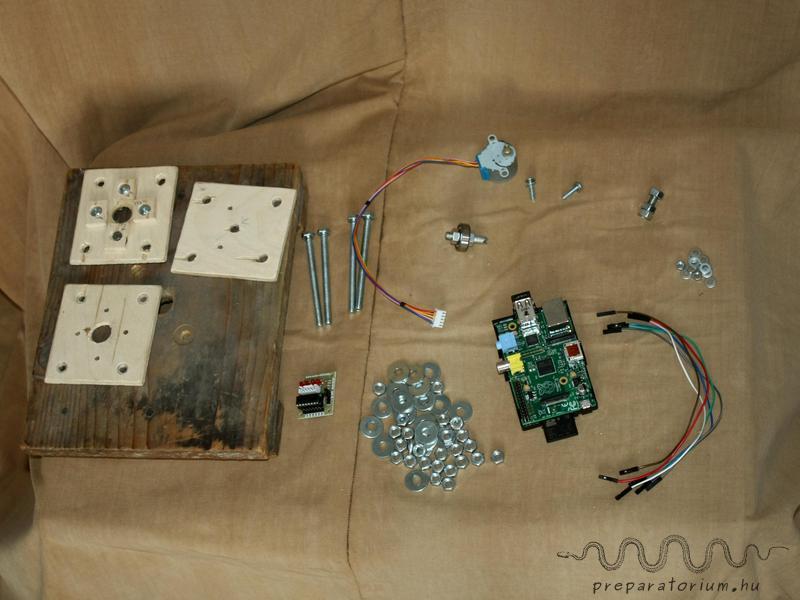
(1. ábra/Figure 1.)
Forgató eszköz:
A forgató eszközt 1-2 ezer forintból ki lehet hozni. A tengelyt egy részmenetes csavarból alakítottam ki. A csavart méretre vágtam, majd a végére egy bevágást készítettem, ebbe "ül" bele a motor tengelye (2. ábra). A tengelyen anyák segítségével rögzítettem a csapágyat. Az eszköz vázának elkészítéséhez rétegelt lemezből 3 db 8x8 cm-es négyzetet vágtam, amelyek közepét és sarkait is kifúrtam. A sarkoknál hosszú csavarok fogják össze a rétegelt lemezeket, és rögzítik az alaphoz (3. ábra). Középen fut a tengely. A csapágy (és egyben a tengely) rögzítését kis fa darabok biztosítják, illetve az, hogy két rétegelt lemez összeszorítja a csapágy szélét.
*Az általam használt csavar menetes része túl rövid volt, ezért meg kellett hosszabbítanom egy rövid menettel.*
Rotating device:
The rotating device costs less than $20. The spinle was made from a structural bolt. A mortise was made at the end of the bolt after cutting it into sizes to place the stepper motor's spinle (figure 2.). On the spinle screw nuts fix the bearing. 3 square plywoods each of size 8x8 cm were used to make the framework of the rotating device. The centre and the corners of the plywoods were drilled. At the corners long screws keep the plywoods together and fix the device to the bottom (figure 3.). The spinle runs in the center hole. Smaller woods fix the bearing (as well as the spinle). The two plywoods which press the bearing's edge also fix the spinle.
*The thread of the spinle was too short, it was necessary to elongate with a short screw thread.*
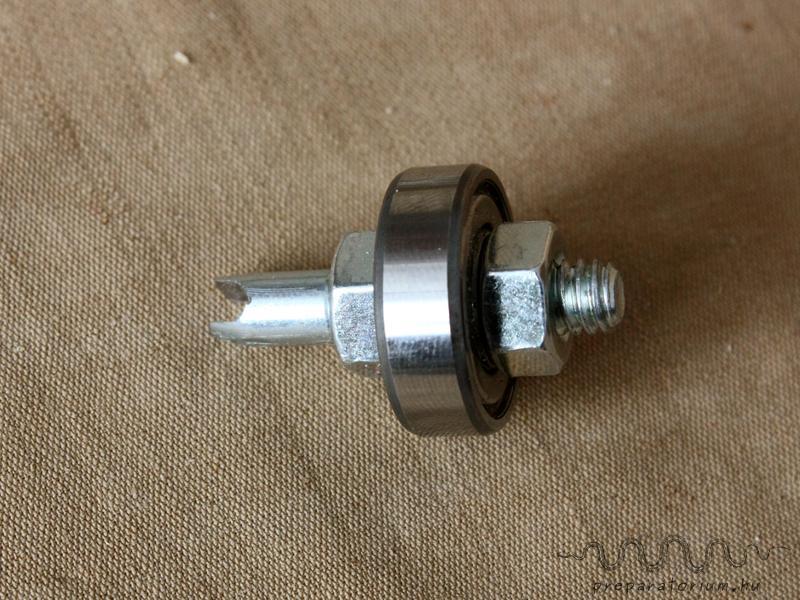
(2. ábra/Figure 2.)
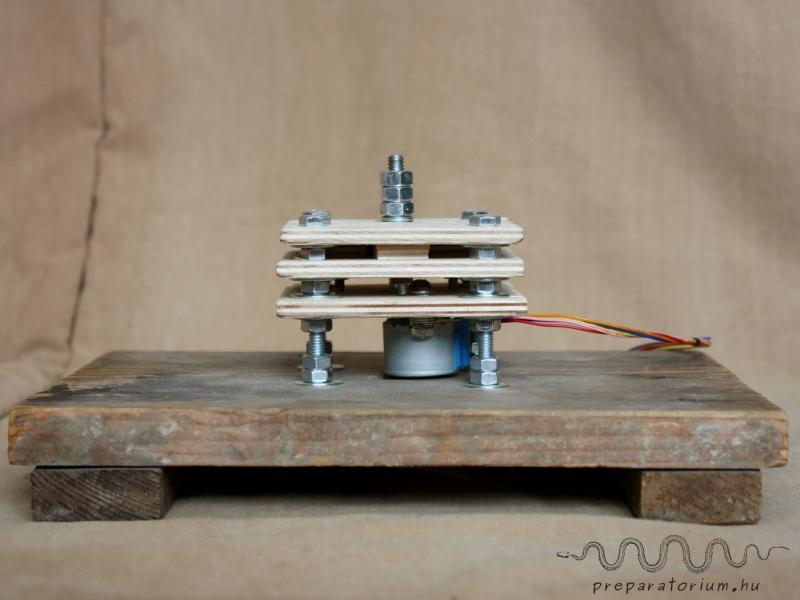
(3. ábra/Figure 3.)
Összeállítás:
A fényképezőgépet usb kábellel kötöm a Raspberry Pi-re (Rpi). A kialakított csatlakozó segítségével a motor egyszerűen illeszthető a vezérlőhöz. A vezérlő és az Rpi szabad portjainak összekapcsolása jumper kábelek segítségével történik az alábbi táblázat alapján.
Assembly:
The camera is connected to the Raspberry Pi with a data cable. The controller and the stepper motor can be easily joined with the help of a plug. According to the chart below jumper cables connect the controller and the Rpi's GPIO pins.
| Raspberry pi | Controller |
|---|---|
| 5V - pin2 | + |
| GND - pin6 | - |
| GPIO18 - pin12 | IN1 |
| GPIO23 - pin16 | IN2 |
| GPIO24 - pin18 | IN3 |
| GPIO25 - pin22 | IN4 |
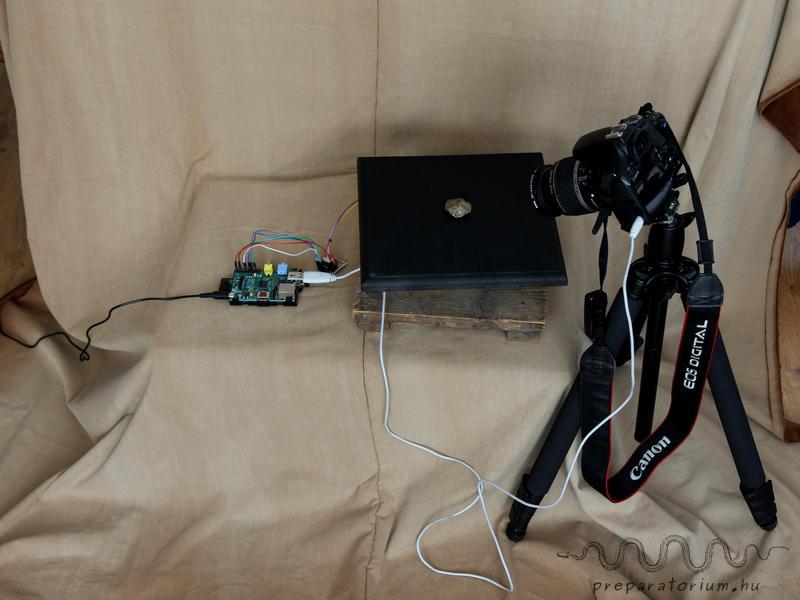
(4. ábra/Figure 4.)
Szoftver:
A Raspberry-n raspbian fut. A fényképezőgépet a gphoto2 program kezeli. A fényképezőgép és a tárgy beállítására a positioning.sh shell scriptet írtam. A program futtatásakor meg kell adni a motor lépéseinek számát és a forgás irányát. A fényképezéshez a rotating_photography.sh scriptet használom. A Raspberry minden, a fényképezőgépnek adott parancs után lekapcsolja az usb portot, ezért minden fénykép után azt resetelni szükséges. Ezt az usbreset programmal végzi a script.
Software:
The Rpi's OS is raspbian. The camera is controlled by the program gphoto2. To set up the camera and the object, I wrote the shell script positioning.sh. Add the number of the steps and the direction when running this script. To taking photos, I wrote the shell script rotating_photography.sh. The Raspberry turns off the port after each command sent to the camera, therefore it is necessary to reset the usb port. For this task the script runs the usbreset program.
A gphoto2 telepítése:
To install gphoto2, execute:
$ sudo aptitude install gphoto2
A gphoto2 által támogatott fényképezőgépek listája itt érhető el.
The list of the supported cameras by gphoto2 is available here.
A scripteket az alábbi linkekről lehet letölteni. A letöltés után engedélyezni kell, hogy "végrehajtható" legyen.
The scripts are available from the links below. After downloading make it exceutable.
Az usbreset program kódja az alábbi linkről tölthető le. A letöltést követően le kell fordítani, majd "végrehajthatóvá" kell tenni. Az usbreset programot Alan Stern írta, a program eredeti forrása ide kattintva érhető el.
The source code of the usbreset is available from the link below. After downloading, compile the program and make it exceutable. The usbreset program was created by Alan Stern. For the original source click here.
Fényképezés
A fényképezés megkezdése előtt beállítom a fényképezőgépet és a tárgyat a megfelelő háttérrel. A tárgy beállítása után a posotioning.sh script segítségével ellenőrzöm, hogy a teljes körbefordulás alatt végig benne van-e a tárgy a látómezőben.
Taking photos
Before taking photos the camera and the object are set. After setting the object the posotioning.sh script is used to check whether the object is always in the field of view over the full turn.
$ sudo ./positioning.sh
Az expozíciós idő, blende, stb... beállítása után kikapcsolom a gép lcd kijelzőjét, majd elindítom a rotating_photography.sh scriptet. (A fényképezőgép automata kikapcsolását is le kell tiltani.)
After setting the shutter speed, aperture, etc... I turn off the cameras lcd screen. Then the script rotating_photography.sh can be started. (It is necessary to turn off the automatic shut down of the camera.)
$ sudo ./rotating_photography.sh
A program indulását követően kilistázza az Rpi-be csatlakoztatott usb eszközöket, majd kéri a Device Nr.-t. Ez az alábbi példában 005.
After starting the script, the connected ports are listed, then add the Device Nr.. In the following example the Device Nr. is 005.
Bus 001 Device 001: ID 1d6b:0002 Linux Foundation 2.0 root hub
Bus 001 Device 002: ID 0424:9512 Standard Microsystems Corp.
Bus 001 Device 003: ID 0424:ec00 Standard Microsystems Corp.
Bus 001 Device 005: ID 04a9:3145 Canon, Inc.
Ezt követően meg kell adni a fényképek számát és a két fénykép közötti lépések számát. A visszaigazolást követően elkezdődik a fényképezés. Tapasztalataim szerint 100 fénykép nagyjából 10 perc alatt készül el. A fényképek elkészültét követően a script bezáródik, a fényképek nem kerülnek letöltésre, azok a fényképezőgép memóriakártyáján maradnak.
Then add the number of the photos and the number of the steps between two photos. After the confirmation the camera starts taking the photos. As I experienced 100 photos can be taken in 10 minutes. When all the photos are ready, the script exits. The photos are not downloaded automatically, they are kept in the memory card.
Elkészült képek összevágása gif animációba
A fényképek szerkesztését és gif animációba összeállítását az imagemagick programmal készítem. A fényképek vágását és kicsinyítését követően azokat vízjelezem, majd a képeket konvertálom gif fájlba.
Converting images to gif animation
The program imagemagick is used for editing the images and converting them to gif animaiton. The images are converted to gif file after cropping, resizing and watermarking.
$ convert -delay 5 -loop 0 *.JPG animation.gif
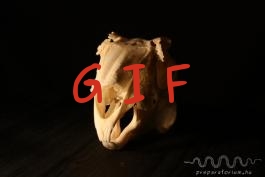
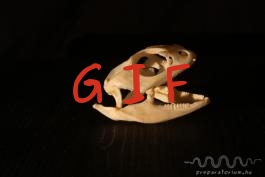
Néhány gif animáció
Az egyes képekre kattintva a gif animáció új lapon nyílik meg.
Some gif animations
Click on the thumbnails to start the gif animations in a new tab.
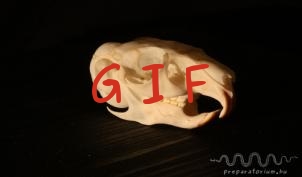
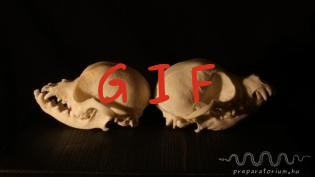
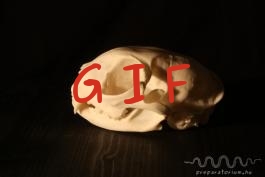

- 2014. május 24.
- Jelenleg magyarországi munkát nem tudok vállalni, kérem ezzel kapcsolatban ne keressenek.
- E-mail: adam@preparatorium.hu